
01/ 08/ 15

STEP 1: Before you start purchasing hundreds of dollars worth of makeup you must INVEST in a solid base. AKA, you MUST, MUST, MUST find skincare products that work for you, your life schedule and financial situation. Once you’ve found what makes your skin look its best, which is usually; sleep, water, great sweat, a good cleanser, and proper nutrition. Now you can move on to purchasing makeup that enhances the beauty that you lovely ladies already possess.
STEP2: Always start your makeup process by putting on a face and eye primer. Primer helps to keep the expensive products you purchased stay on your face and not melt off and B; the colours stay vibrant throughout the evening. Right now I am using Laura Mercier’s Foundation Primer and MACs Prep + Prime Vibrancy Eye Primer.
When it comes to putting on makeup and where to start, it varies from person to person, whether they start with their eyes or their foundation. For me, after my primers set AND because I want lighter coverage for this look, I started with a creamy concealer and then a powder foundation. Bobbi Browns Creamy Concealer Kit in Warm Ivory went under my eyes. Bobbi’s Creamy Concealer is a wonderful product to hide any bags that you may have and is an award winning product.
After I had applied Bobbi’s concealer, I used MAC’s Studio Fix in NC20 (lighter in colour) under my eyes to hold the creamy concealer in place and above my brow for highlight. A darker coloured powder was then put all over the rest of my face for a light, flawless finish.
I then choose to contour the areas of my face that I wanted to be sharper and stand out. I only contoured the bridge of my nose and my cheeks with MACS Powder Blush in Harmony to make them pop and for a lighter contour look. I find by using a brown coloured blush for contouring, its more affordable plus it allows me to have a natural look for day and night.
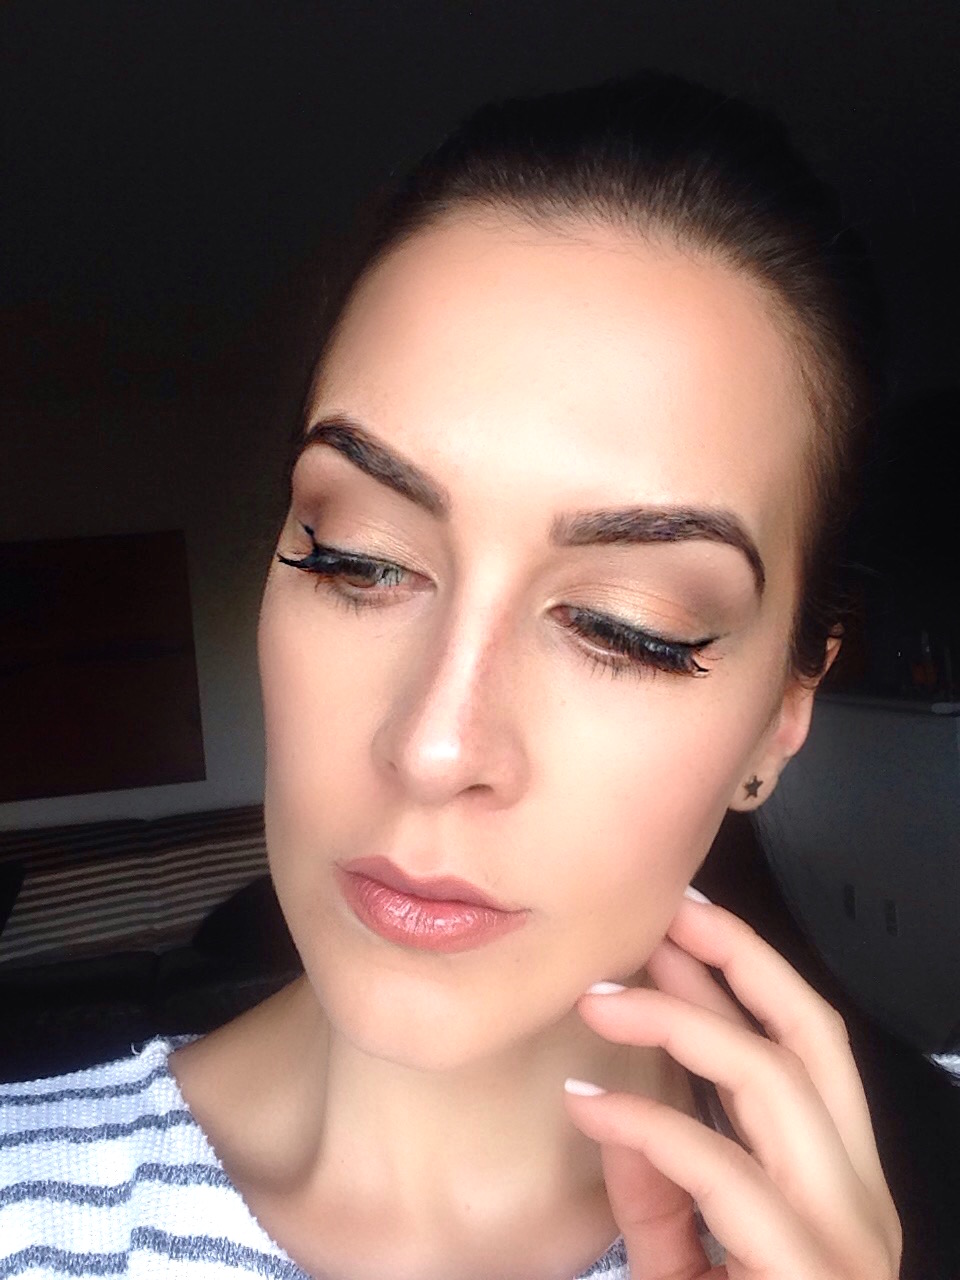
STEP3: Since the base is applied, I moved to my eyebrows where I used an angled brush and eyeshadow. The eyeshadow I used is from MAC in the colour mystery, this allows me to have a pronounced brow shape and it works well so why not! To make sure that my eyebrows stay in place and don’t act all crazy, I use a Clear Brow Gel that looks similar to clear mascara.
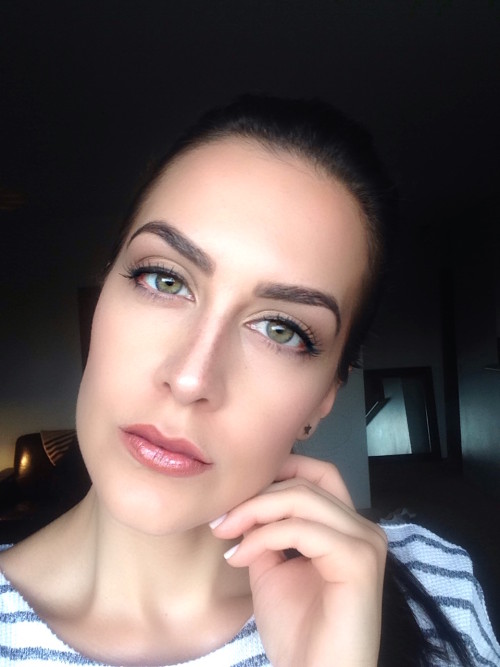
STEP 4: Eyeshadow, Naked 2 by Urban Decay: Foxy under the brow for a highlighter, Tease in the crease, and Half Baked on the eyelid.
STEP 5: Eyeliner, 24/7 Glide-On Eye Pencil in Perversion by Urban Decay
STEP 6: Fake lashes, Ardell Edgy Lash in #406 Black
STEP 7: Mascara, Lash Lifter- Gel Definition Mascara by Marc Jacobs beauty
STEP 8: We can’t forget about the lips! I also used a lip primer so that my lipstick would last longer and stay at attention for as long as I needed, haha. I used MACs Prep + Prime Lip and waited a couple minutes until my lips felt sticky, then I applied MACs Creamesheen Lipstick in colour Cream In Your Coffee. I could not find the colour online but its possible its sold in stores near you (fingers crossed because it’s wonderful).
STEP 9: After everything is said and done, I always take a final look in the mirror and see if everything is to my liking. I will usually go in and contour more, add some blush or just finish the look off with some finishing spray for longevity. Right now I am using Mist & Fix by Make Up Forever but MACs and Urban Decay’s version work fabulously as well.
Thank you for reading and I hope you enjoyed the post about this makeup look. Most if not all the products you can find at Sephora, MAC, Ulta Beauty, and Murale. Please feel free to leave comments and let me know what you would like to see in the future!